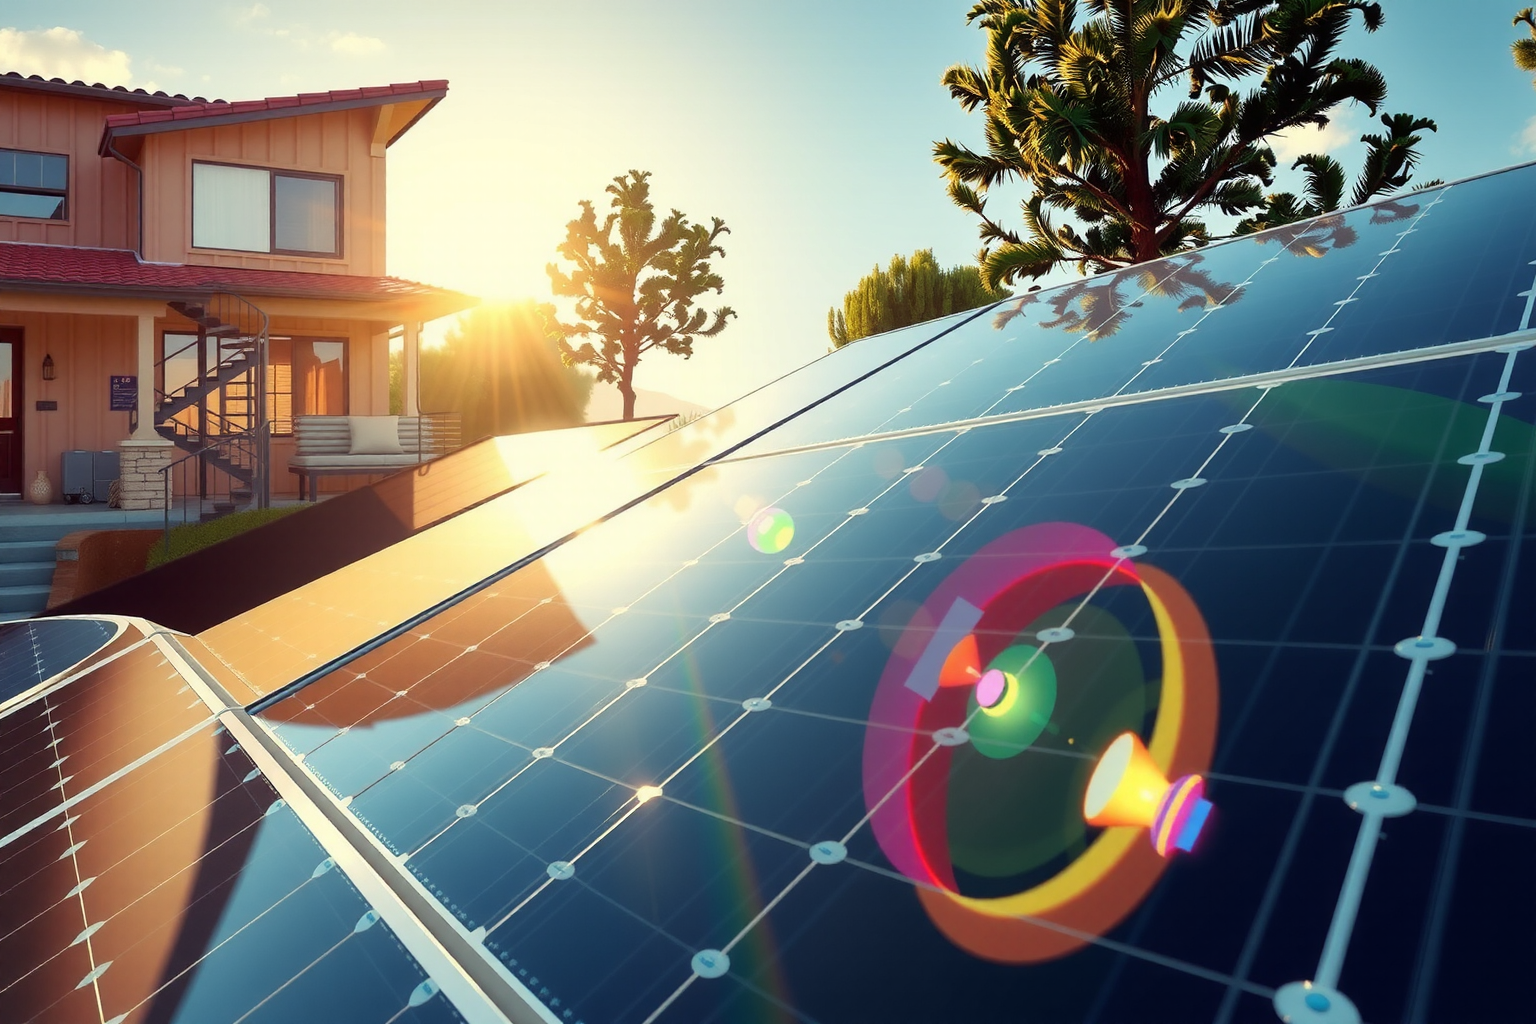

The switch to renewable energy sources has become increasingly popular in recent years, and many people are interested in installing solar panels in their homes. However, the installation process may seem daunting for beginners. That’s why we have put together a step-by-step guide to help you navigate through the process and provide helpful tips and tricks along the way. With this guide, you can easily and confidently install your own solar panels and join the movement towards a greener and more sustainable future.
Calculate Your Energy Needs for Solar Panel Installation
Before you embark on your DIY solar panel installation journey, it’s crucial to accurately assess your energy needs. Understanding your energy consumption will enable you to determine the right size and number of solar panels required to meet your specific electricity demands. Start by reviewing your past energy bills to get an understanding of your monthly energy usage. You can then use this information to calculate the amount of energy your solar panels need to generate. Additionally, consider any potential increase in energy usage that might occur in the future, such as the addition of new appliances or an electric vehicle, to ensure that your solar power system can accommodate your long-term needs.
Next, evaluate the energy efficiency and production potential of your property. Assess the available roof or ground space for the solar panel installation and consider the amount of sunlight your property receives throughout the day. By understanding these variables, you can choose the most suitable solar panel configuration to optimize energy production. Furthermore, it’s important to factor in any shading obstacles, such as nearby trees or buildings, that might impact the sunlight exposure on the solar panels. This comprehensive assessment of your energy needs and production potential will provide a solid foundation for the planning and design of your DIY solar power system.
Choose the Right Solar System Type for Your Home
When it comes to selecting a solar system for your home, you have the option to choose between grid-tied, off-grid, and hybrid solar systems, each with its own set of features and benefits. A grid-tied solar system is connected to the utility grid, allowing you to draw power from the grid when your energy needs exceed the production of your solar panels. On the other hand, an off-grid solar system operates independently from the utility grid and has battery storage to provide a continuous power supply, making it an ideal choice for remote or non-grid-connected areas. A hybrid solar system combines the elements of both grid-tied and off-grid systems, offering the flexibility to draw power from the grid, your solar panels, or battery storage, providing the greatest level of energy independence.
Consider your specific energy needs, budget, and long-term goals when deciding on the type of solar system that is best suited for your home. If you have consistent access to the utility grid and are primarily looking to reduce your electricity bills, a grid-tied system may be the most advantageous option for you. Conversely, if you live in a remote area with limited or no access to the grid, an off-grid or hybrid system can offer the energy self-sufficiency and reliability required for your property. By carefully evaluating your unique circumstances, you can make an informed choice regarding the most suitable solar system type for your home.
Make a DIY Solar Plan
Developing a well-structured DIY solar plan is essential to ensure a successful and efficient installation of your solar panels. Start by outlining the entire installation process, breaking it down into clear and manageable steps. This detailed plan should encompass the specific tasks involved in the installation, any technical or logistical considerations, and a realistic timeline for completion. Additionally, identify the tools, materials, and professional assistance, if necessary, that will be required at each stage of the installation. By creating a comprehensive DIY solar plan, you can effectively organize and coordinate the various aspects of the project, minimizing the potential for delays or setbacks during the installation process.
Furthermore, it’s important to make a thorough assessment of the costs associated with the solar panel installation and to explore potential financial incentives or assistance programs that may be available to you. This financial planning will not only give you a clear understanding of the budgetary requirements for the project but also enable you to take full advantage of any potential cost-saving opportunities. Whether it’s researching the current prices of solar panels, inverters, and other essential components or identifying local or federal incentives for solar installations, thorough financial preparation is a key element of a successful DIY solar plan.
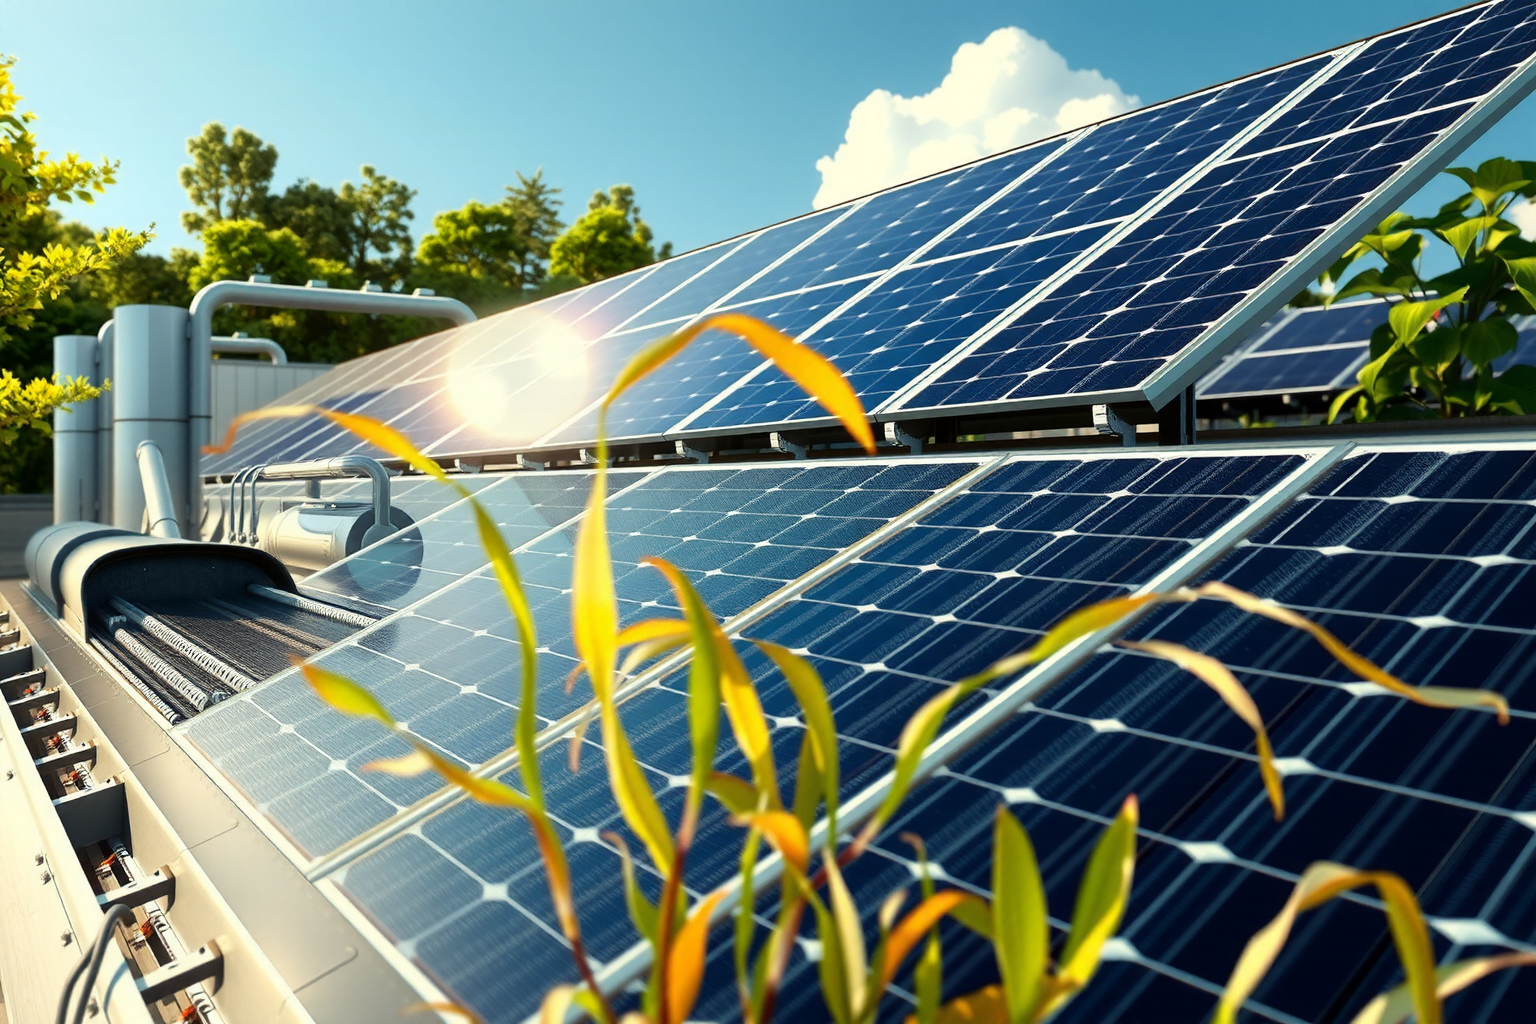
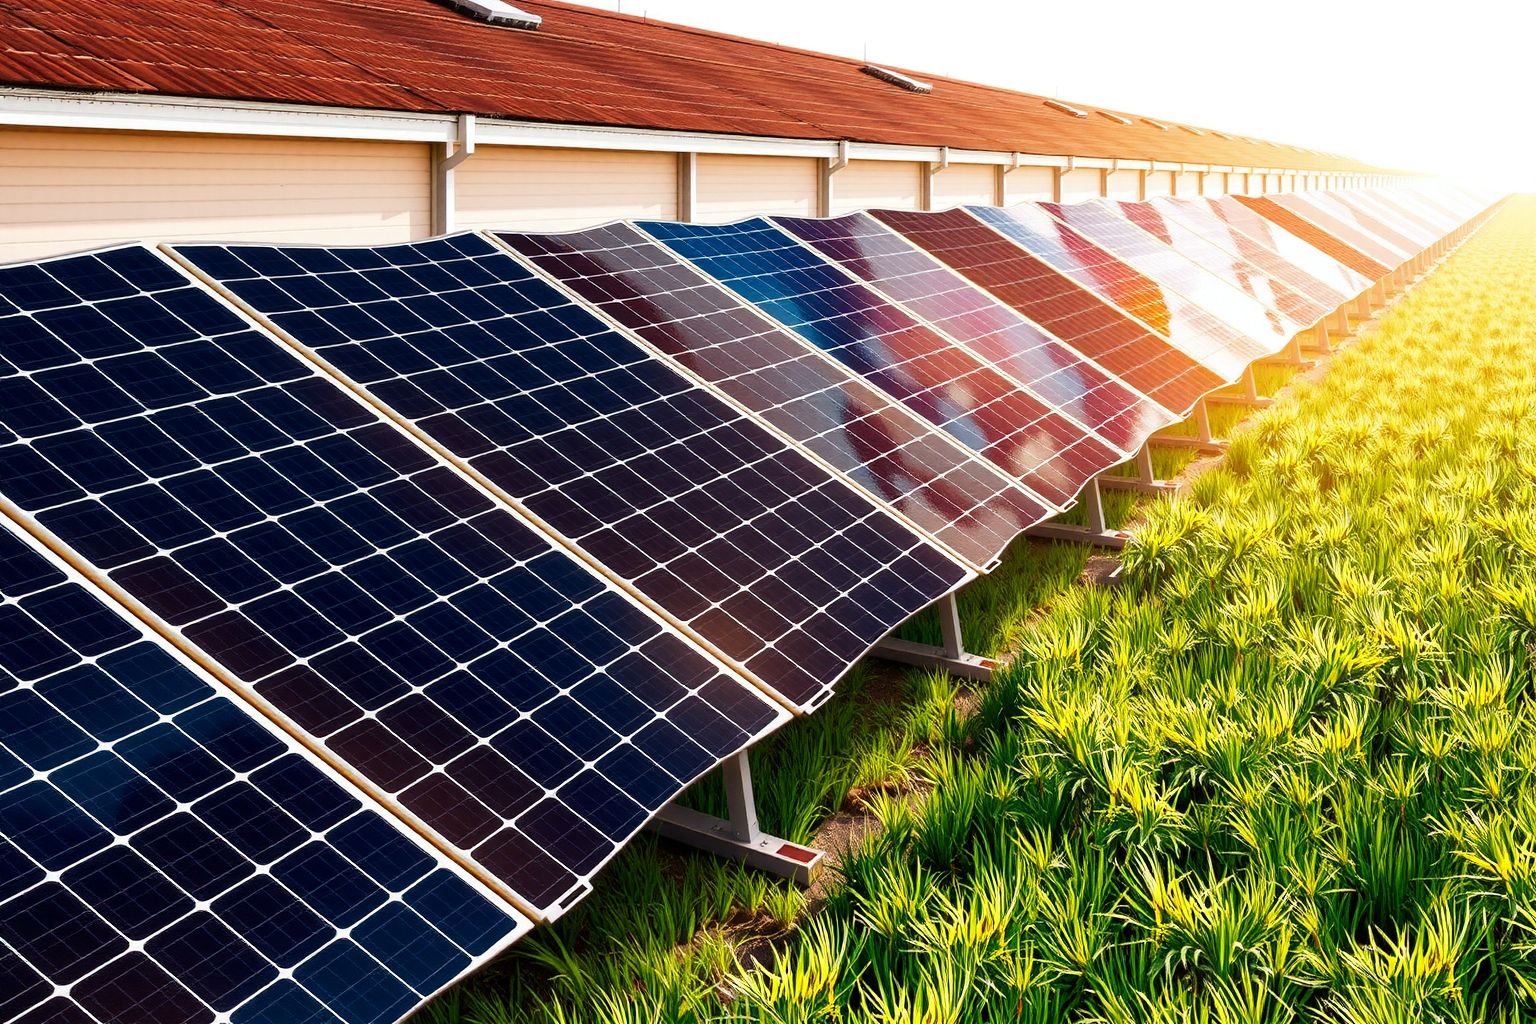
Select High-Quality Solar Panels and Equipment, Obtain Necessary Permits, and Prepare Your Roof or Ground Mounts for Installation
When it comes to the selection of solar panels and equipment, prioritize quality and reliability to ensure the optimal performance and longevity of your solar power system. Research and choose high-quality solar panels, inverters, and mounting hardware from reputable manufacturers. Take into consideration the efficiency and durability of the components, as well as any warranties or performance guarantees that are offered. Additionally, explore the latest technology advancements in solar panels, such as improved efficiency and enhanced durability, to make well-informed decisions about the products that will best meet your long-term energy needs.
Obtaining the necessary permits and approvals for your solar panel installation is a crucial step that should not be overlooked. Prior to commencing the installation, familiarize yourself with the local regulations and building codes that govern solar panel installations in your area. This may involve submitting a detailed installation plan, providing proof of compliance with safety standards, and obtaining the required permits from relevant authorities. By proactively addressing these regulatory requirements, you can ensure the legality and safety of your installation, as well as prevent any potential issues or delays caused by non-compliance.
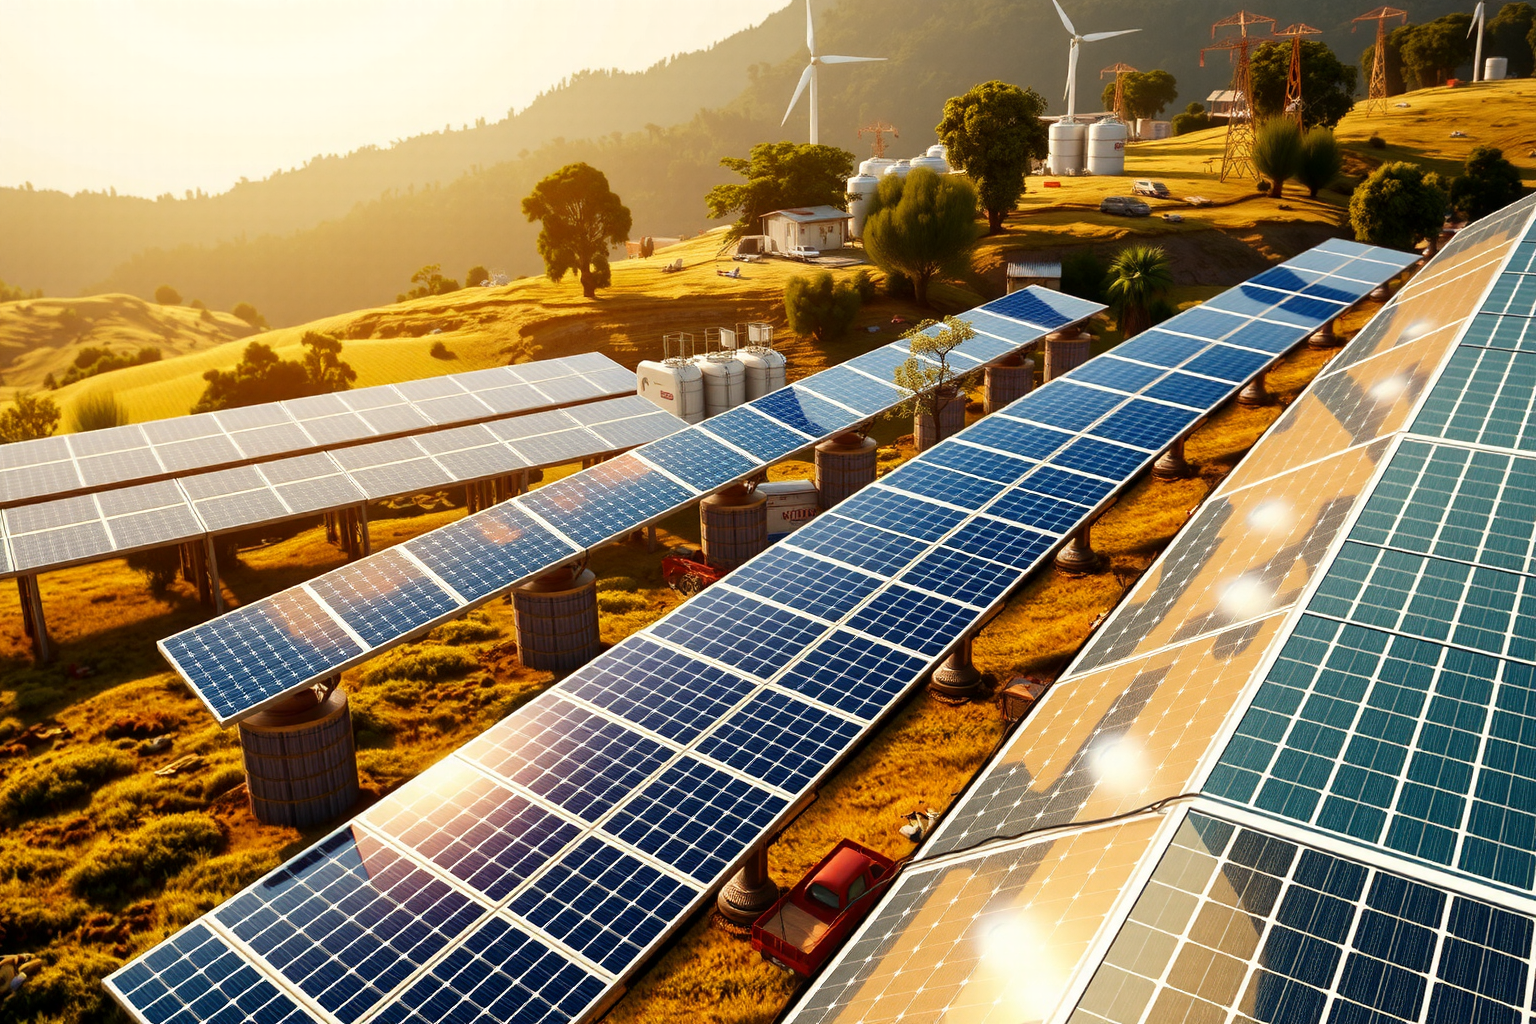
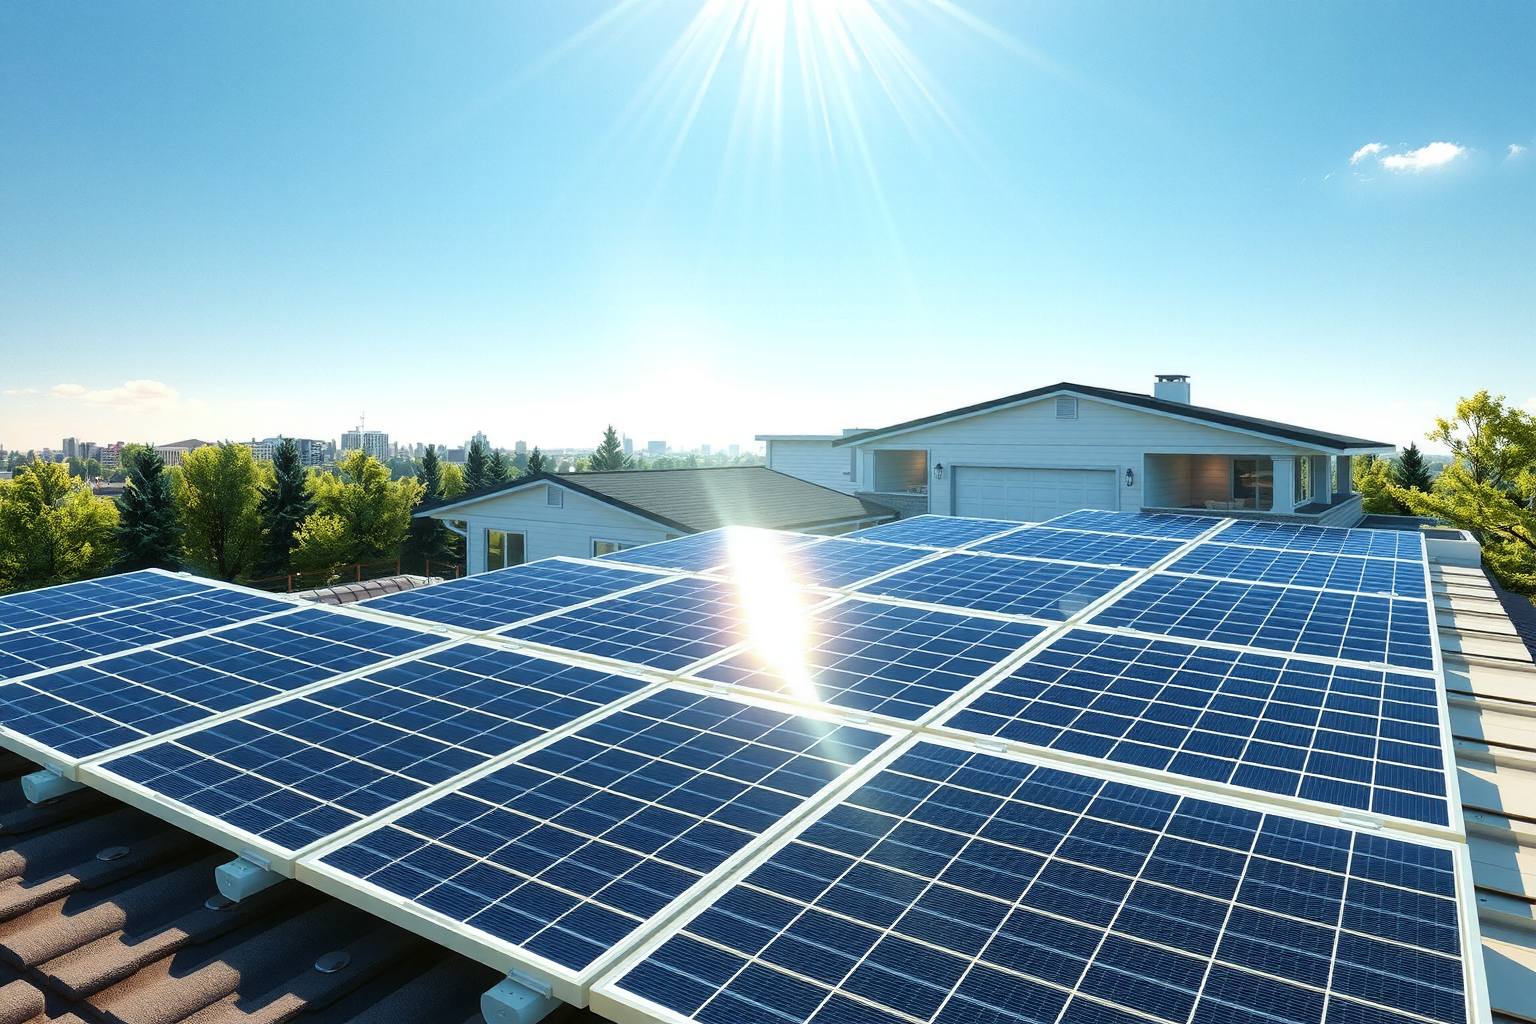
For properties with roof-mounted systems, thoroughly inspect and prepare the roof area for the installation, making any necessary repairs or reinforcements to address structural concerns. If you opt for a ground-mounted solar panel system, meticulously evaluate the designated ground area, ensuring that it is free of any obstructions and has the appropriate soil conditions for secure mounting. Prior to the installation, consider seeking professional guidance for any complex or large-scale ground preparations to guarantee the proper and secure positioning of the solar panel mounts and racking.
Install Racking and Mounts for Your Solar Panels
The installation of racking and mounts is a critical phase of the solar panel installation process, as it provides the secure and stable framework for the mounting of the solar panels. Begin by carefully following the manufacturer’s instructions to accurately and securely install the racking and mounts. When positioning the racking, take into account the optimal tilt angle and alignment to maximize the energy generation potential of the solar panels. Additionally, ensure that the racking is installed with precision and in accordance with the manufacturer’s specifications to guarantee the structural integrity and performance of the system.
For ground-mounted solar panel systems, it is essential to conduct a thorough and level site preparation to create a solid foundation for the racking and mounts. This may involve excavation, leveling, and the installation of concrete footings or other securing mechanisms, depending on the specific type of ground mount. Utilize professional guidance and industry best practices to execute the ground preparations and mounting installation accurately, as any errors or misalignment in this phase can significantly impact the long-term stability and energy production of the solar panel system.
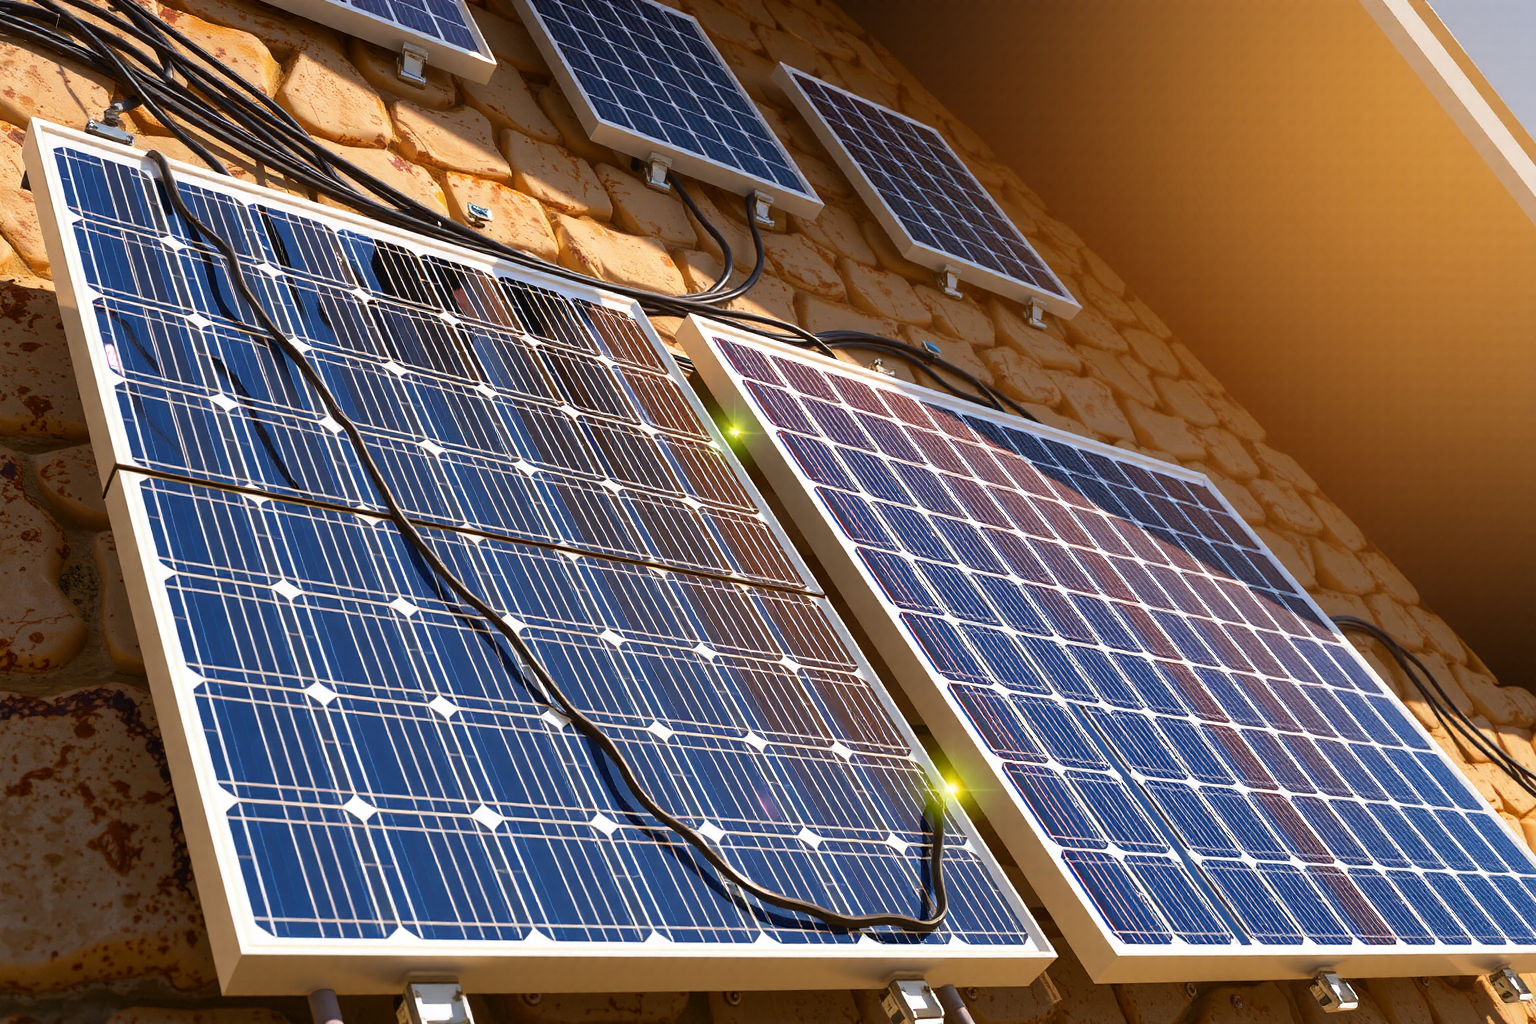
Wire Solar Panels Together and Connect Inverter to Batteries
Once the racking and mounts are securely in place, proceed with the proper wiring of the solar panels to ensure seamless and efficient energy transfer within the system. Begin by carefully connecting the solar panels in the designated series or parallel configurations, paying close attention to the wiring polarity and securing the connections with the appropriate hardware or fasteners. Maintain a systematic approach to the wiring process, verifying the accuracy of each connection and conducting a thorough inspection to prevent any potential wiring-related issues that may affect the system’s performance.
Following the wiring of the solar panels, connect the inverter to the solar panels, ensuring that the inverter is installed in a well-ventilated and accessible location to facilitate maintenance and monitoring. Additionally, if your solar power system incorporates battery storage, carefully connect the batteries to the system, adhering to the recommended safety protocols and best practices for battery installation. This may involve specific wiring configurations, the securement of battery enclosures, and the implementation of safety devices, such as fuses or disconnect switches, to mitigate any potential risks associated with the use of batteries in the system.
Finalize Electrical Connections and Conduct System Testing
With all the key components interconnected, the final stage of the installation involves the comprehensive verification of the electrical connections and the thorough testing of the entire solar power system. Before energizing the system, systematically inspect all the wiring and electrical components, ensuring that they are properly secured, insulated, and free of any potential electrical hazards. Conduct a methodical review of the electrical connections, including the connections to the utility grid, to validate their compliance with safety standards and industry regulations.
Subsequently, perform a series of systematic tests and measurements to assess the voltage, current, and overall performance of the solar power system. This may involve the use of specialized electrical testing equipment to measure the output of the solar panels, the operational parameters of the inverter, and the charging and discharging activities of the batteries. By conducting comprehensive system testing, you can validate the performance and safety of the installed solar power system, addressing any potential issues or irregularities prior to its full-scale operation.
Through meticulous attention to detail and adherence to best practices, this systematic approach to the finalization of electrical connections and system testing will ensure that your DIY solar panel installation is executed with the highest level of precision, safety, and functionality, ultimately enabling you to harness the full potential of solar energy for your home.
Conclusion
Installing solar panels can be a daunting task, but with the help of a step-by-step guide and some helpful tips and tricks, it can be a stress-free and rewarding experience. From calculating energy needs to obtaining permits, this guide covers everything you need to know for a successful DIY solar panel installation. With the right materials, equipment, and plan in place and the assistance of a visual walkthrough video, anyone can confidently install solar panels and reap the benefits of renewable energy. Don’t forget to take advantage of discounts and warranties offered by reputable sellers to make the process even smoother.
Latest Posts Published
Go Green with Solar Energy: Eco-Friendly Solutions for a Sustainable Future
Discover the Benefits of Photovoltaic Glass: A Sustainable Solution for Renewable Energy
Step-by-Step Guide to Connecting Solar Panels in Parallel for Maximum Efficiency

Top Benefits of Hot Water Solar Panels: Save Money and Energy

Brighten Your Space with Luminous Solar Panels for Eco-Friendly Energy Solutions
Discover the Benefits of Flexible Solar Panels for Sustainable Energy Solutions
Tata Power Solar Systems Ltd: Leading Solar Solutions Provider in India
Maximizing Energy Efficiency with Rooftop Solar Systems
Ultimate Guide to Spypoint Solar Panel: Reviews Installation Tips & More