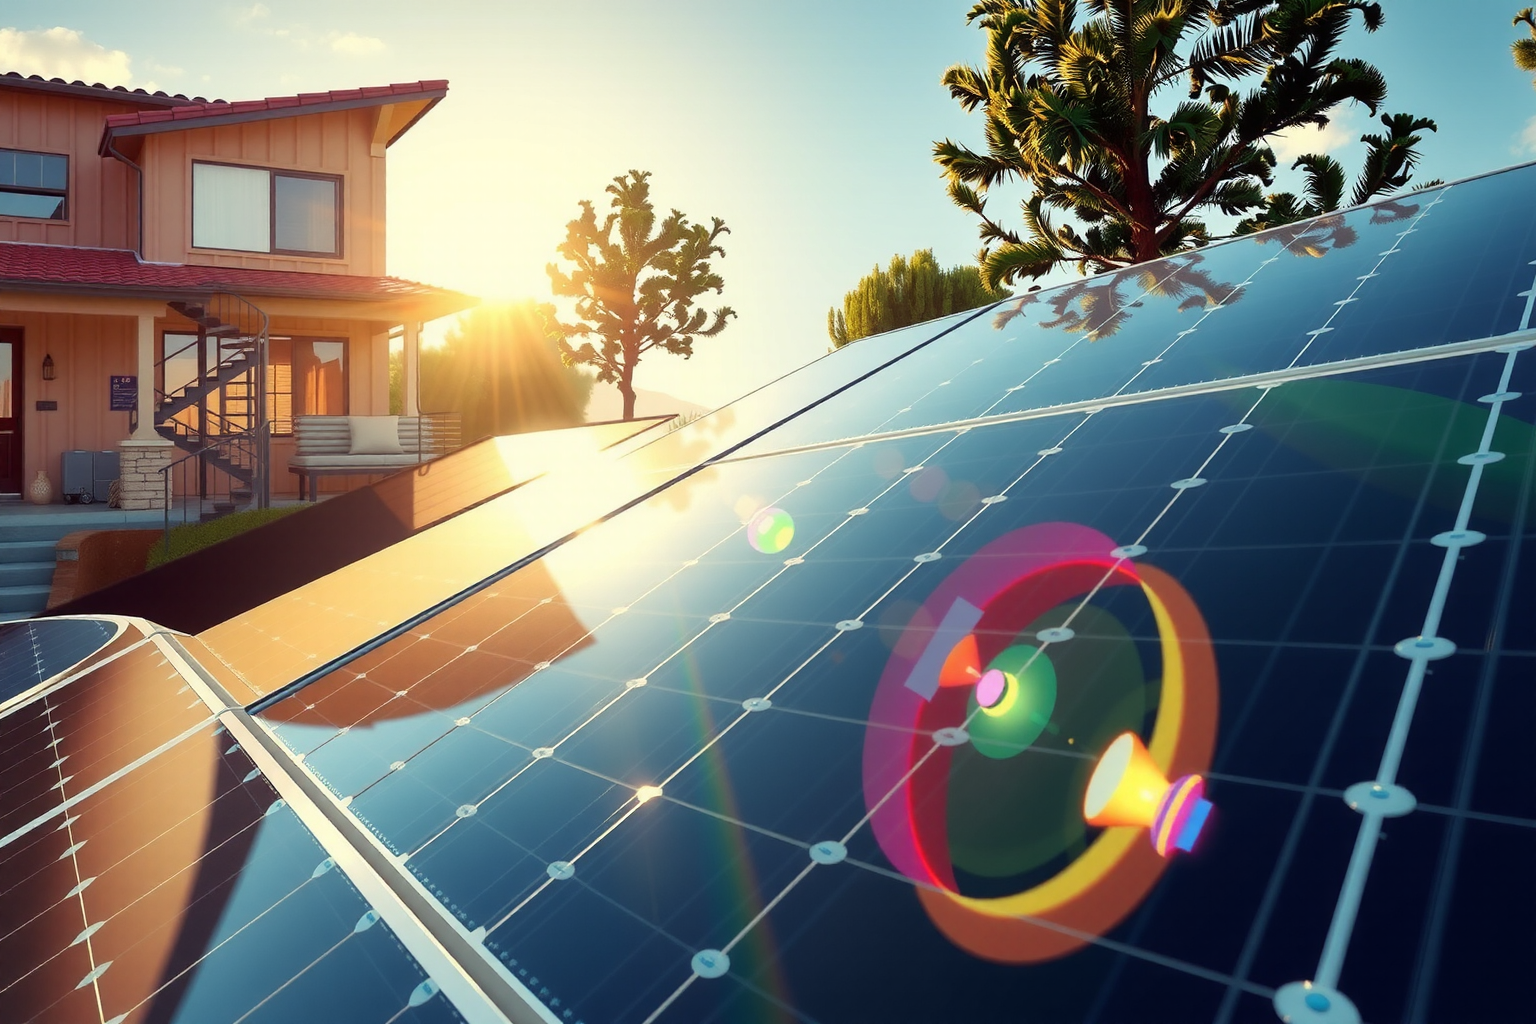

The duration of the installation of a system of photovoltaic panels depends on the complexity of the project, the size of the system and local conditions, but on average it varies Between 1 and 2 days for a standard residential system (Without the period assigned to the design and obtain the necessary authorizations for connection to solar panels). A larger or more complex project (e.g. for a company or farm) can take more time, In 1-2 weeks.
Here is a detail of the phases and approximate times for each one!
Planning and design (1-2 weeks)
At this stage, you have to grant the time to carefully analyze the energy needs of your property, the available solar resources and the chances of locating the system.
- Analysis of energy needs: Identifies the consumption of energy energy, to determine the necessary capacity of the solar panel system. For more concrete information, read the article on how many photovoltaic panels are needed for a home!
- Evaluation of solar resources: Examine exposure to the property sun to ensure system efficiency.
- Choose the type of solar panels: Depending on your specific needs, you can choose between different types of solar panels: monochristalline film, polycrystalline or thin.
- Calculation of the system size: Based on energy needs and solar resources, calculate the optimal dimensions of the solar panel system.
- Make an installation plan: Once you have all this information, you can create an installation plan of the detailed system.
The audit of the position will help you discover the answer to the question what is needed to install photovoltaic panels. Here, it is necessary to check if the location is suitable for the installation of solar panels. I inspect the roof or earth to make sure they are solid enough and have enough space to host the system. Also evaluate the degree of exposure to the sun to determine the efficiency of the system!
From the signature of the contract to obtaining all authorizations and starting the installation works of solar panels for your home, estimates a period of about 30 or 40 days. During this interval, the system design will be carried out and all the necessary documents will be obtained for connection to the network.
Position preparation (1-2 hours)
At this stage, it is essential to ensure The roof structure It is strong enough to resist the weight of the photovoltaic panels. The evaluation of the structural resistance implies an analysis of the building materials, the age of the roof and the local weather conditions. This evaluation is necessary to prevent possible long -term problems relating to the installation and operation of the photovoltaic panel system.
If after checking it it is found The roof has defects or structural problemsThey must be repaired before installing the panels. The repair may include the replacement of damaged unions, the strengthening of the roof structure or the improvement of isolation. The goal is that the roof is in the best possible condition before starting the installation.
Once The roof has been assessed and repaired if necessaryThe next phase provides for the transport and organization of the components of the photovoltaic panel system. These include the panels themselves, the assembly structures and the solar inverter. The components must be transported safely to the position and organized efficiently to facilitate the installation process.
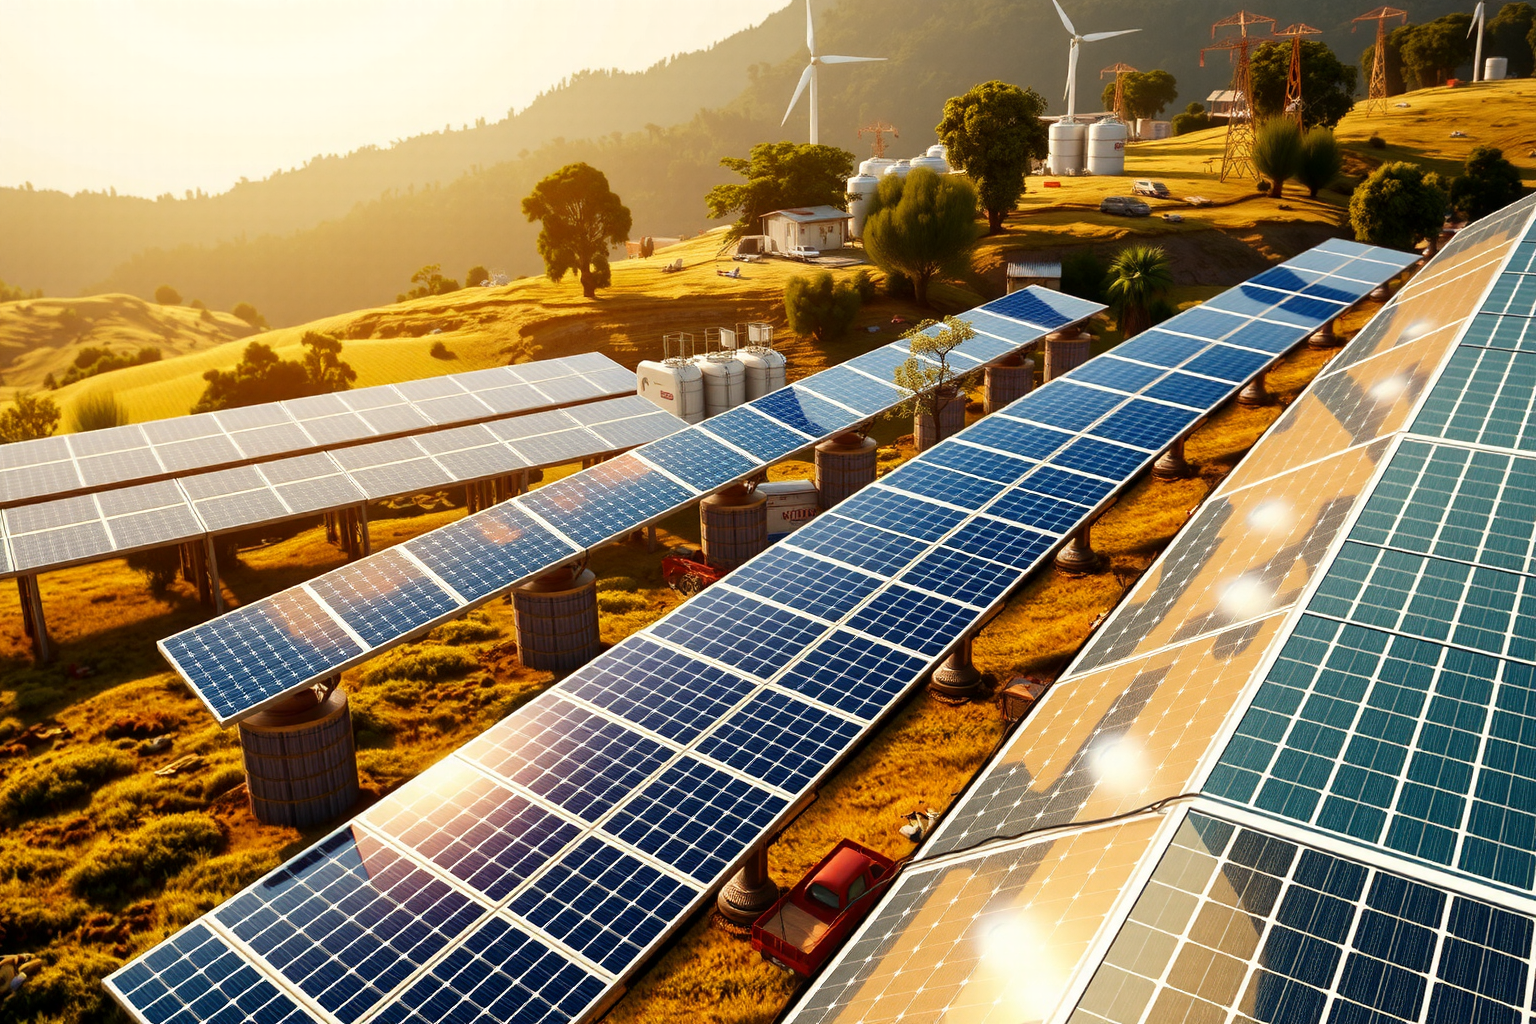
If the photovoltaic panels must be installed on the ground, the soil is necessary. This may entail the cleaning and leveling of the soil, as well as the evaluation and minimization of the impact on the environment.
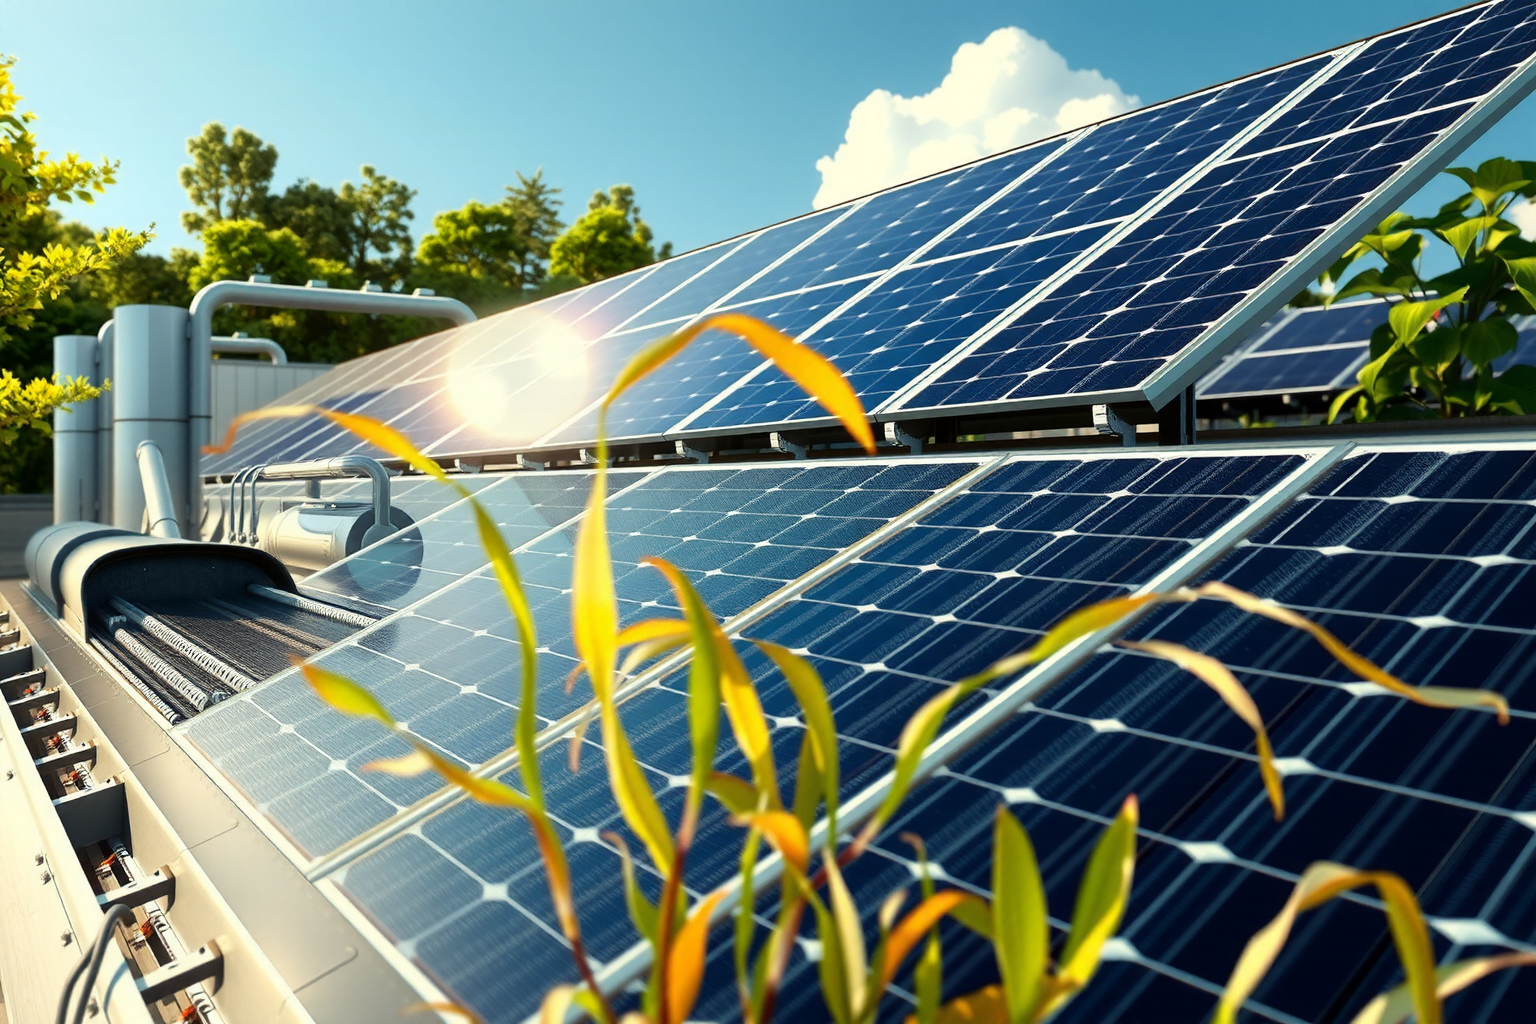
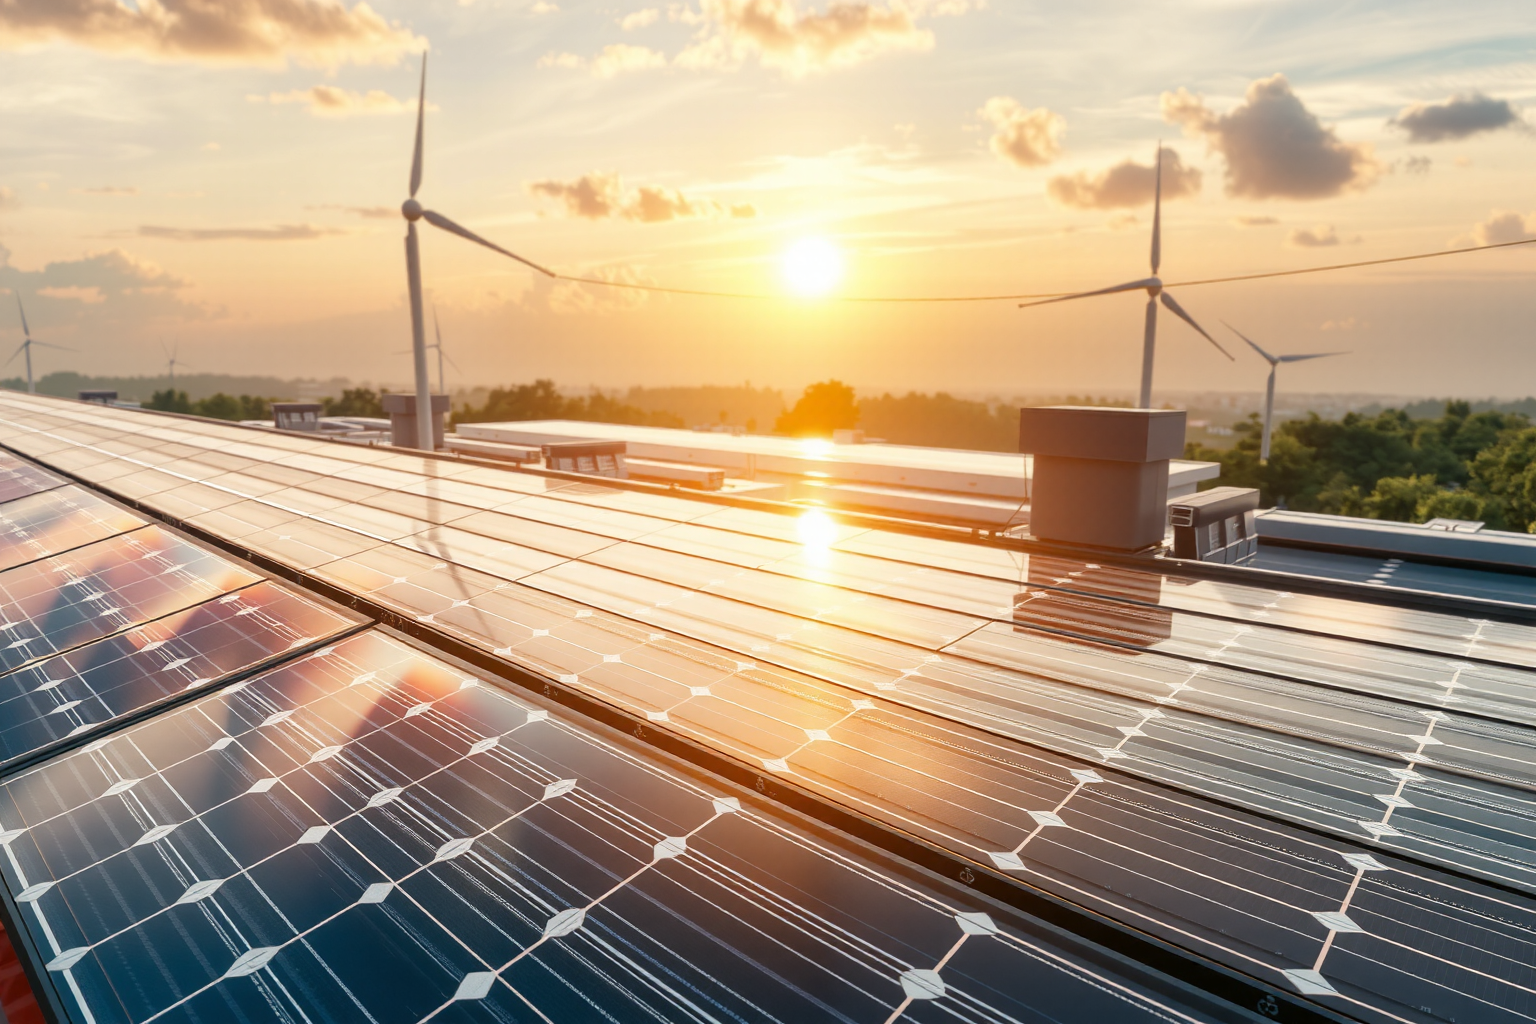
Installation of assembly structures (4-8 hours)
The installation of the assembly structures involves the installation of supports or frames for photovoltaic panels. This phase can be done on the roof or on the ground, depending on the project specifications.
The duration of the installation of the assembly structures may vary according to the position chosen. If we talk about a residential system installed on the roof, This process generally lasts between 4-8 hours. If the system is installed on the ground, the process may take longer, especially if it is necessary to perform excavation work.
Importance of quality fixing systems
- High and efficient productivity in installation
The fixing systems of the areas are designed for quick and fast installation, with only 1-2 adjustment points and allowing the exclusive work above or on the side. This intuitive design reduces the time required for installation, if the panels are installed on the roof or on the ground. - Ensure the panel warranty
Zontec fixing systems comply with all the conditions requested by the manufacturers of photovoltaic panels to maintain the guarantee. The use of improper installation solutions can lead to the cancellation of the warranty, but to choose the areas, you have the safety of compliance and protection over time. - Resistance and long -term duration
The Zontec assembly structures are made of certified, durable and corrosion resistant materials. They offer mechanical stability and protection from external factors, such as wind, snow or temperature variations, guaranteeing a long duration of the entire system.
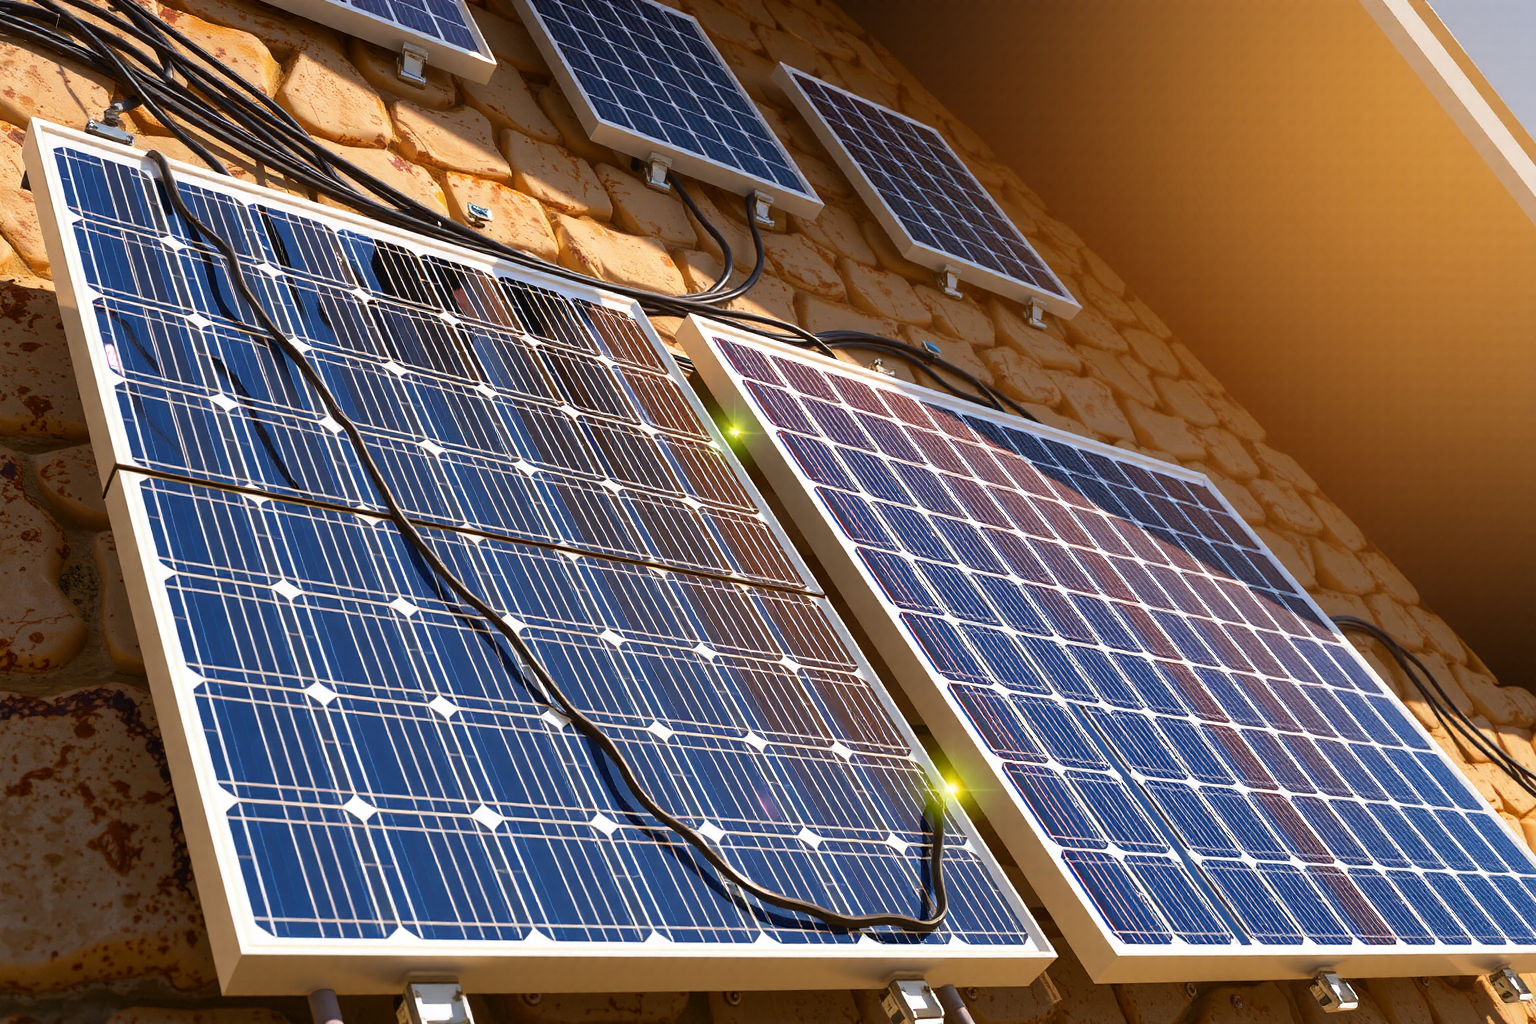
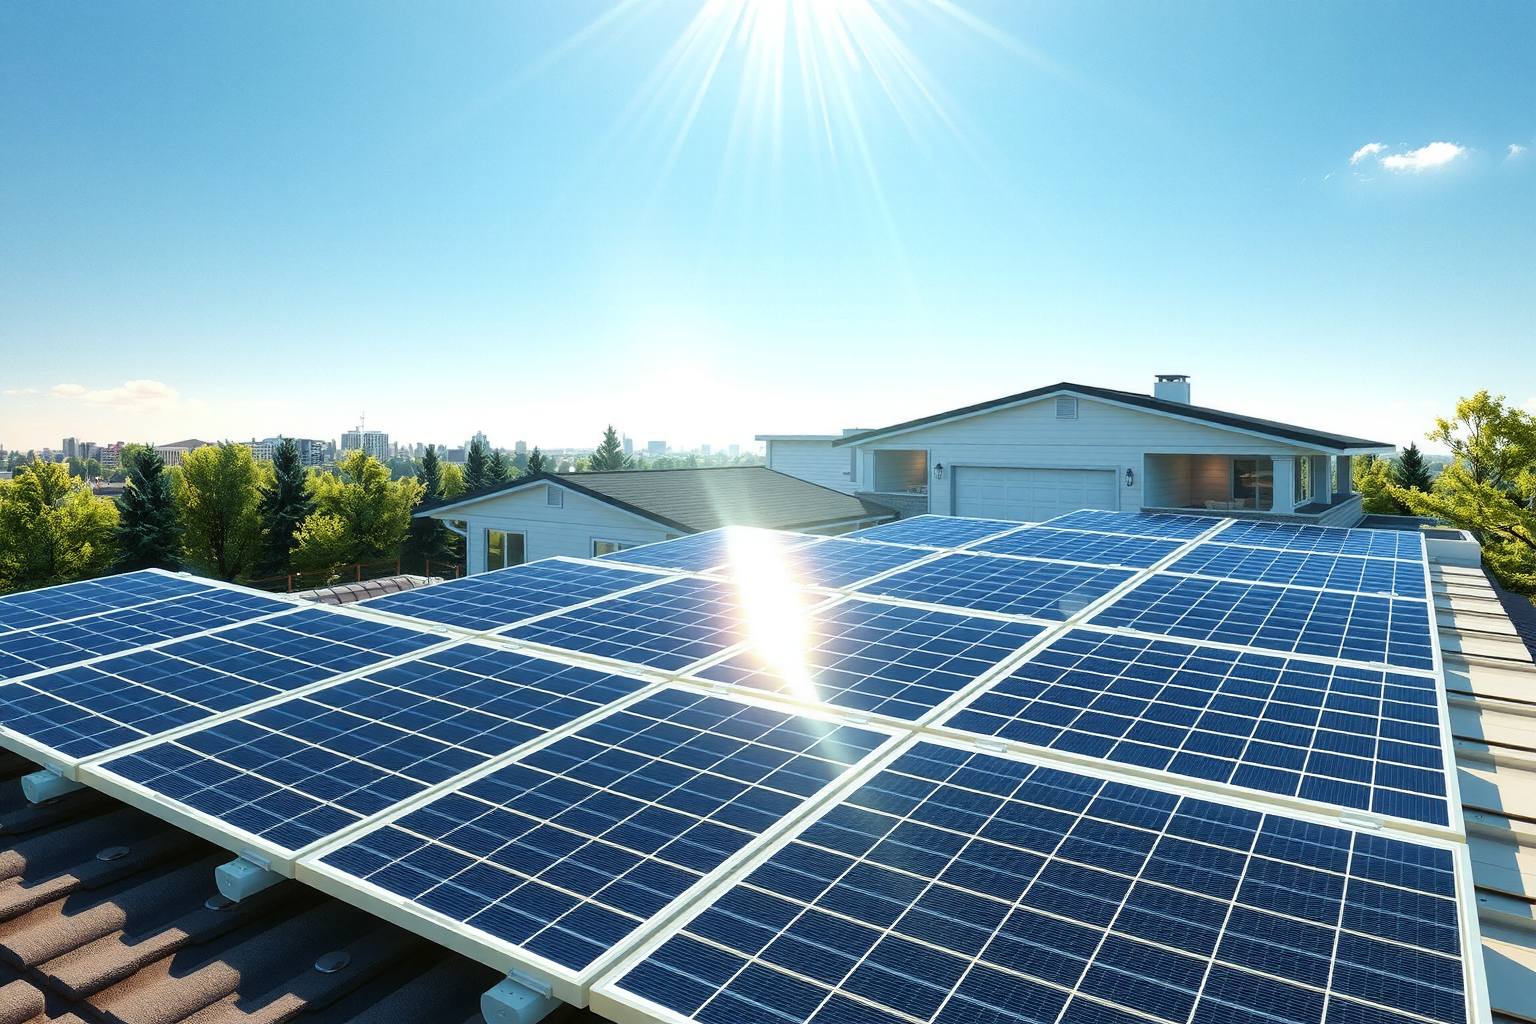
Photovoltaic assembly panels (4-8 hours)
Photovoltaic panels are fixed on assembly structures using a special tightening system. It is important to make sure that the panels are well fixed to prevent their damage or fall under strong wind conditions.
Once mounted, the panels should be adequately oriented to maximize exposure to the sun. This will guarantee that the panels will generate the maximum amount of energy possible. Keep these technical factors into account that influence the yield of a photovoltaic system when the panels are mounted!
Generally for a system Residential standard 4-6 kWThis process lasts in 4-8 hours.
Installation of the electrical system (1-2 hours)
This phase, which can be completed in a single day, provides the connection of the panels to the inverter and the batteries, creating the connection to the electrical panel, installing the two -way meter and controlling and testing the electrical system.
- Connecting panels to the inverter and batteries. This passage provides for the physical interconnection of the solar panels to the inverter and, if necessary, on the batteries. The inverter has the role of transforming the DC (DC) generated by the alternate current panels (AC), which can be used in the house or in the building where the system is installed. If the photovoltaic system also includes a battery, the energy produced during the day can be kept and used at night or during the sunless periods.
- The connection to the electrical panel of the house. This phase is essential to allow the energy produced by the circular panels in the building's electrical circuit. The connection to the electrical panel must be established by an authorized electrician, to ensure the safety of the system and users.
- If the solar system is designed to inject excess energy in the electricity grid, a two -way meter will be necessary. This meter measures both the energy consumed by the network and the energy injected into the network, allowing the correct billing of energy consumption. The installation of the meter may request some extraordinary, but it is essential for the correct functioning of a photovoltaic system connected to the network.
- Check and test of the electrical system. This includes the control of connections, the functionality of the inverter and the counter, as well as the tests of energy production. It is important to check the safety of the system, to ensure that there are no electrical or fire risks.
Testing to calibrate (1-2 hours)
At this stage, all the components of the system are checked and tested to make sure that everything works correctly.
- Verification of the entire system: All components of the photovoltaic panel system – panels, assembly structures, inverters, solar panel batteries (if included in the system) – are magazines to ensure that they have been installed correctly and that they work correctly. This may include the verification of electrical connections, the mechanisms for the correction of the panels and the functioning of the inverter.
- Energy production test and network connection: Once the system is checked, the next step is to test the energy production of the photovoltaic panels and the connection to the electrical network. This may include the measurement of energy production in different light conditions and the control of how the system interacts with the electricity grid.
- System safety verification: Safety is essential in any electrical installation and photovoltaic panel systems are no exception. This may include the verification of the protection from overvoltage, electrical isolation and other security mechanisms.
Tips for the efficiency of the assembly process of the photovoltaic panel system:
- Prepare all the authorizations before starting the works!
- Working with a qualified team can complete the installation faster!
- Choose a favorable period, with stable time!
Latest Posts Published
Go Green with Solar Energy: Eco-Friendly Solutions for a Sustainable Future
Discover the Benefits of Photovoltaic Glass: A Sustainable Solution for Renewable Energy
Step-by-Step Guide to Connecting Solar Panels in Parallel for Maximum Efficiency
Top Benefits of Hot Water Solar Panels: Save Money and Energy
Brighten Your Space with Luminous Solar Panels for Eco-Friendly Energy Solutions
Discover the Benefits of Flexible Solar Panels for Sustainable Energy Solutions
Tata Power Solar Systems Ltd: Leading Solar Solutions Provider in India
Maximizing Energy Efficiency with Rooftop Solar Systems
Ultimate Guide to Spypoint Solar Panel: Reviews Installation Tips & More